Hey lovelies! So I realised I really only do reviews and while I love doing them, I really want to try something new! So today I will be doing a 'how to' post!
When I first made my
blog, I got a lot of compliments on the lips I had in my first
profile picture. If you can remember, it was a tapered brown eye with
winged eye-liner and a vampy ombre lip. And as I have been asked a
number of times as to how I achieved that look, I decided just to
share with you all as its just so freaking easy!
Step 1: Moisturise
So the first thing your
doing to want to do is make sure your lips are clean and moisturised.
Having dry/flaky lips will be accentuated by this lip colour and
that’s not a great look if you ask me! Simply
use a lip scrub or even just a lip balm to ensure your lips are soft
and smooth.
Step 2: Lip Liner
Using a lip liner is a
must to achieve the crisp edges of this look, whenever your using a
red lipstick its vital that you use a lip liner to not only shape
your lips, but prevent colour bleeding through. I used a simple red
liner, the Prestige lip liner in Garnet (left).
However if you prefer using a purple toned lip liner then you could
try something like the Australis lip liner in My Fair Lady (right).
Simply just line your lips and then fill in.
Step 3: Base Lipstick
Practically
any red lipstick can be used for this look. Personally, I prefer
using a deeper red lipstick just to add some extra depth, however if
you feel more comfortable using a simple medium toned red then go
ahead! I used the Rimmel Kate Moss lipstick in 09 (right) which
is a gorgeous cherry. You could also use a brown toned red like the
Lancome Rouge Sensation lipstick in Red Desire (left).
You
can either apply the lipstick straight from the bullet, or, use a
small lipstick brush which will ensure your lines are crisp.
Step 4: Rim The Edges
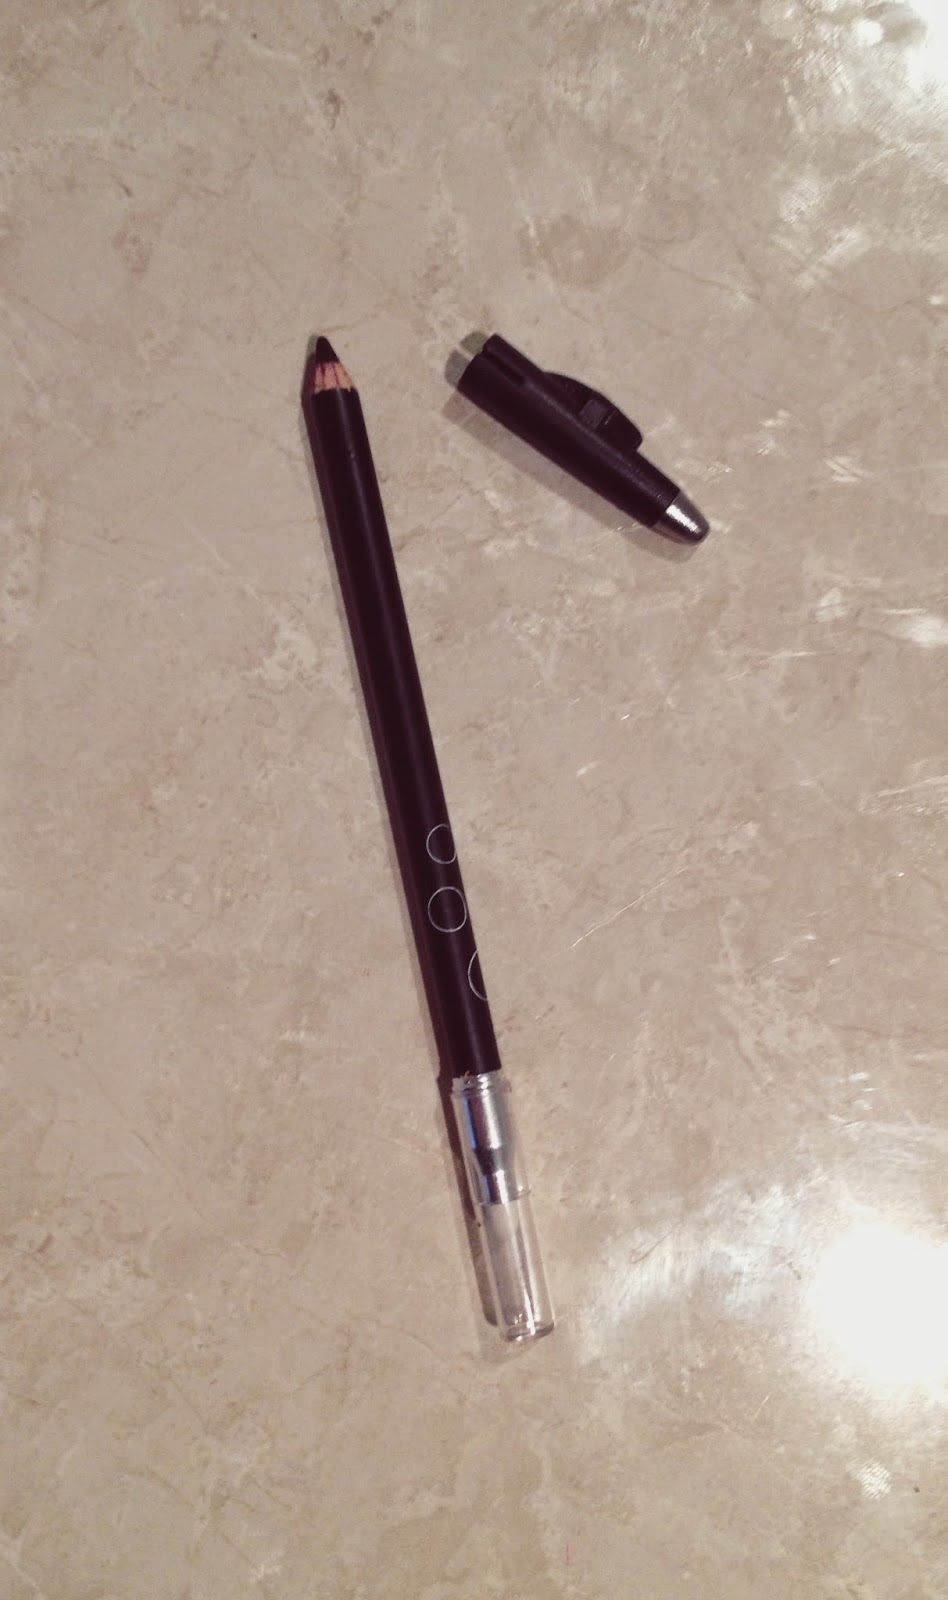
What
you will need for this step is either a black or purple lip liner.
However, using a lip liner is not totally necessary in my view with a
look like this as an eye liner works just as good. I recommend buying
a cheap black eye liner as it will get ruined and I wouldn’t go
applying it to your eyes after you’ve applied it to your lips.
Hygiene hello?
Take the pencil and carefully outline your lips as if it were the red
lip liner that you applied earlier. Feel free to use as little or as
much as you like, keep in mind though that once applied you cannot
take back so start off with a little then build up.
Step 5: Blending
Next take a small lip liner brush, lipstick brush, or even a
concealer brush, anything small enough to use on the lip area. Begin
blending the black or purple liner into the inner red area in small,
quick motions. Make sure not to blend the two colours too much or
else you'll lose that ombre gradient effect.
Step
6: Optional
This
step is optional but you could take a lighter toned red and dab the
colour into the inner area of your lips. I used the DB
Designer brands moisturising lipstick is Red Hot Red. This
just lightens up the look if you were a bit too heavy handed with the
dark liner. You could also add some clear lip gloss if you want to
make the look a bit more glamorous and intense.
And we are done!
This look is perfect for Halloween, dress up occasions, special
effects, formals or even just for everyday!
I hope you enjoyed my first 'How To' post and if you liked it then please let me know and I’ll do more in the future!
Sarah x


Love your whole makeup look here :) Ombre lips are so fun. Looking forward to more How To's :)
ReplyDeleteKate | themintedbeauty.com
Awh thankyou so much! Watch out i have some more in the making! :)
ReplyDelete